Painting ceilings can be a daunting task, with the risk of drips and uneven finishes causing frustration for many DIY enthusiasts. However, armed with the right knowledge and techniques, you can transform your ceiling-painting experience from a potential disaster to a smooth, drip-free masterpiece. In this guide, we’ll explore pro tips to help you achieve professional-looking results while avoiding common pitfalls.
1. Preparation is Key
Before you even think about picking up a paintbrush, thorough preparation is crucial. Start by removing furniture or covering it with plastic sheets to protect it from splatters. Clean the ceiling surface thoroughly to remove any dust or grease that could affect paint adhesion. Fill any cracks or holes with spackle, and sand the surface for a smooth finish. A well-prepared surface ensures that your paint will adhere properly and the final result will be flawless.
2. Choose the Right Paint and Tools
Selecting the appropriate paint and tools is a pivotal step in achieving a smooth ceiling finish. Opt for a high-quality ceiling paint that is specifically formulated to resist drips and splatters. These paints are often thicker and less prone to dripping than standard wall paints. Invest in a quality synthetic paintbrush or a roller with an extension pole, which allows you to reach high areas without straining.
3. Use a Primer
Applying a primer before the actual paint not only enhances adhesion but also helps in achieving a uniform finish. A good primer seals the surface, preventing the paint from being absorbed unevenly. This step is especially crucial when dealing with ceilings that have stains or discoloration, as a primer can help block them and ensure the final coat of paint looks clean and vibrant.
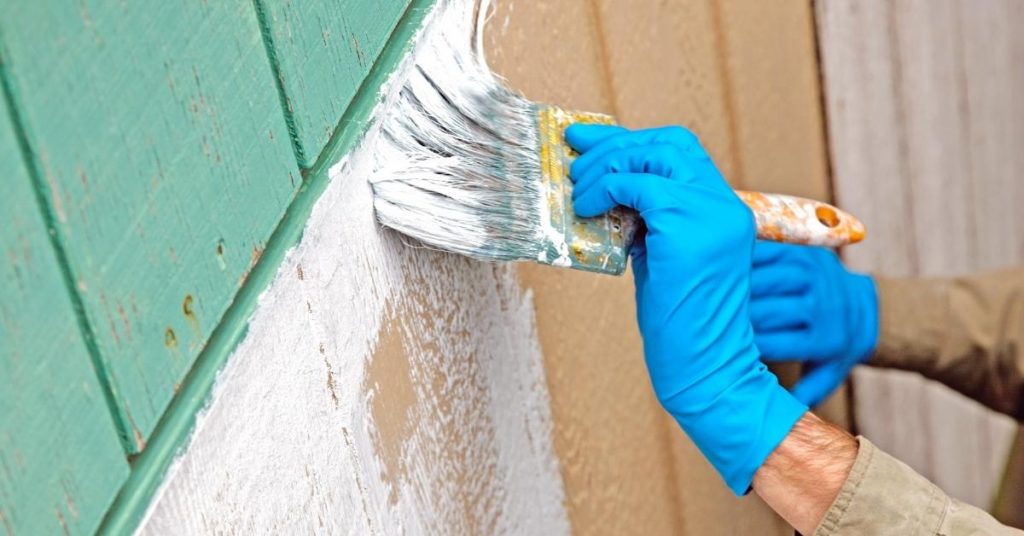
4. Cutting In with Precision
Start by cutting in the edges of the ceiling using a high-quality angled brush. This step requires a steady hand and patience. By carefully cutting in, you create a clean edge where the ceiling meets the walls, reducing the risk of drips and ensuring a professional look. Take your time during this step, as precision here sets the tone for the rest of the painting process.
5. Work in Sections
To avoid drips and achieve an even finish, it’s wise to work in manageable sections. Divide the ceiling into smaller portions, and focus on one section at a time. This approach allows you to maintain control over the paint application and reduces the likelihood of drips occurring. Be mindful of your roller or brush technique, using long, smooth strokes to create a seamless finish.
6. Mind Your Lighting
Proper lighting is often overlooked but plays a crucial role in spotting imperfections and drips. Ensure that the room is well-lit from multiple angles, using natural light whenever possible. This will help you identify any uneven areas or drips and address them promptly, resulting in a smoother and more professional-looking ceiling.
7. Take Breaks and Be Patient
Painting a ceiling can be physically demanding and mentally exhausting. Take breaks when needed to maintain focus and precision. Rushing through the process increases the likelihood of mistakes and drips. Patience is key to achieving a flawless finish, so take your time and allow each coat to dry thoroughly before applying the next.
Conclusion
Mastering the art of painting ceilings requires a combination of proper preparation, the right tools, and strategic techniques. By following these pro tips, you can ensure a drip-free and smooth finish that will leave your ceilings looking professionally painted. Remember, patience and attention to detail are your allies in achieving stunning results that will elevate the overall aesthetic of your living space. Happy painting!